Too often we encounter troubles because we act first and think later. That’s why when planting an orchard (or even a few trees in the backyard), it’s a good idea to take a step back and visualize how our efforts will look 10 years from now. Remember, the time difference between a vegetable garden and producing fruit trees can be years! Let’s avoid future problems by following a few key planning steps to successful planting:
1. The Planting Site
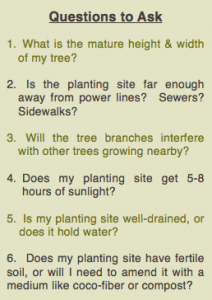 Have you chosen a place free of interference? Is it far enough from power lines, sewer lines, sidewalks, etc.? Visualize your tree 10 years from now in the location you’ve chosen, and ask yourself those questions.
If your tree could talk, it would ask for a well-drained, fertile location with plenty of sunlight. While a full day’s sun is great, trees can still thrive and produce on a half-day’s light; and most trees are forgiving of imperfect soil conditions. If your ground is a little heavy, consider using a good potting mix . 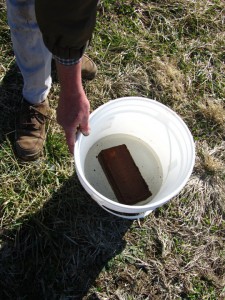 Just drop the “brick” into 1 1/3 gallons of warm/hot water, 30 minutes before planting. When refilling the hole, work the mix into the soil and finish planting. This will give the root system air and allow for water absorption as the roots develop.
2. Digging the Hole
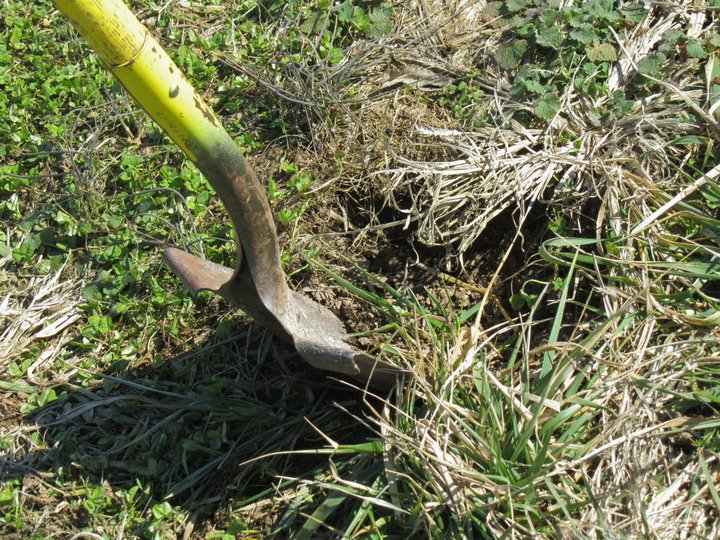
When digging the hole, a good rule of thumb is to remove a space nearly twice the width and depth of the roots. You don’t want the roots cramped or circled. The area you loosen is the area the roots will quickly grow into to anchor and sustain the tree’s to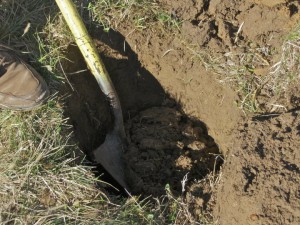 p. This simple task helps determine both how good the foundation will be years later and how well the plant utilizes two much-needed ingredients: air and water.
3. Planting the Tree
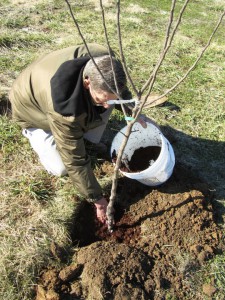
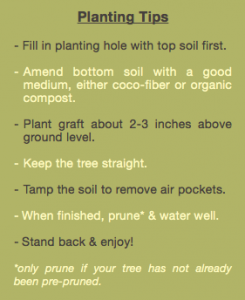
You know the soil you dug up first, right underneath the grass? When refilling your planting hole, it’s always best to place that soil in first. It’s usually more fertile, as well as more porous, and when placed down near the roots, it will help the tree grow better. The remaining soil (from the bottom of the dug hole) is heavier and works well when mixed with the good potting mix . From top to bottom, work the soil with your hands to avoid large clods that create air pockets.
Graft Placement
When you refill your planting hole, hold the tree up a bit to allow loose soil to fall beneath, as well as around the sides of, the roots. Center its position so there is 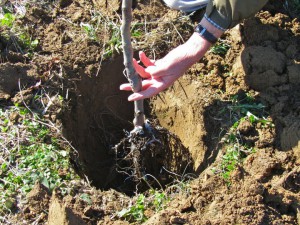 adequate space on all four sides for the root system to grow out. If you are planting a dwarf or semi-dwarf apple tree, hold the bud (graft) union up above the refill line at least 3 inches. If given the opportunity, grafted apple trees will self-root from above the graft union; if the variety self-roots, you’ll lose the size-restrictive nature of the rootstock. (Did
 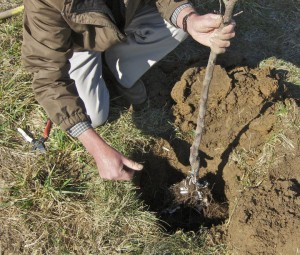 you know the rootstock is responsible for the mature size of your tree, i.e. dwarf, semi-dwarf, standard? We don’t want to lose that sizing—it would definitely throw a rock in your long-term plan!)
Finishing Touches
Through the process, keep the tree straight (perpendicular) and upon finishing, tamp the tree in with your foot to remove air spaces and seal it in. If the tree 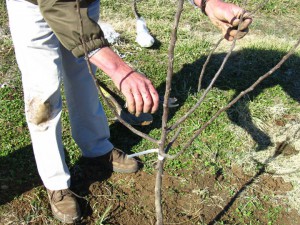 is planted on a slope, create a slight berm on the lower side to utilize water throughout the summer. If it’s not pre-pruned before you plant it, be sure to prune your tree, and water it well.
